Implant Restorations 101
Description :
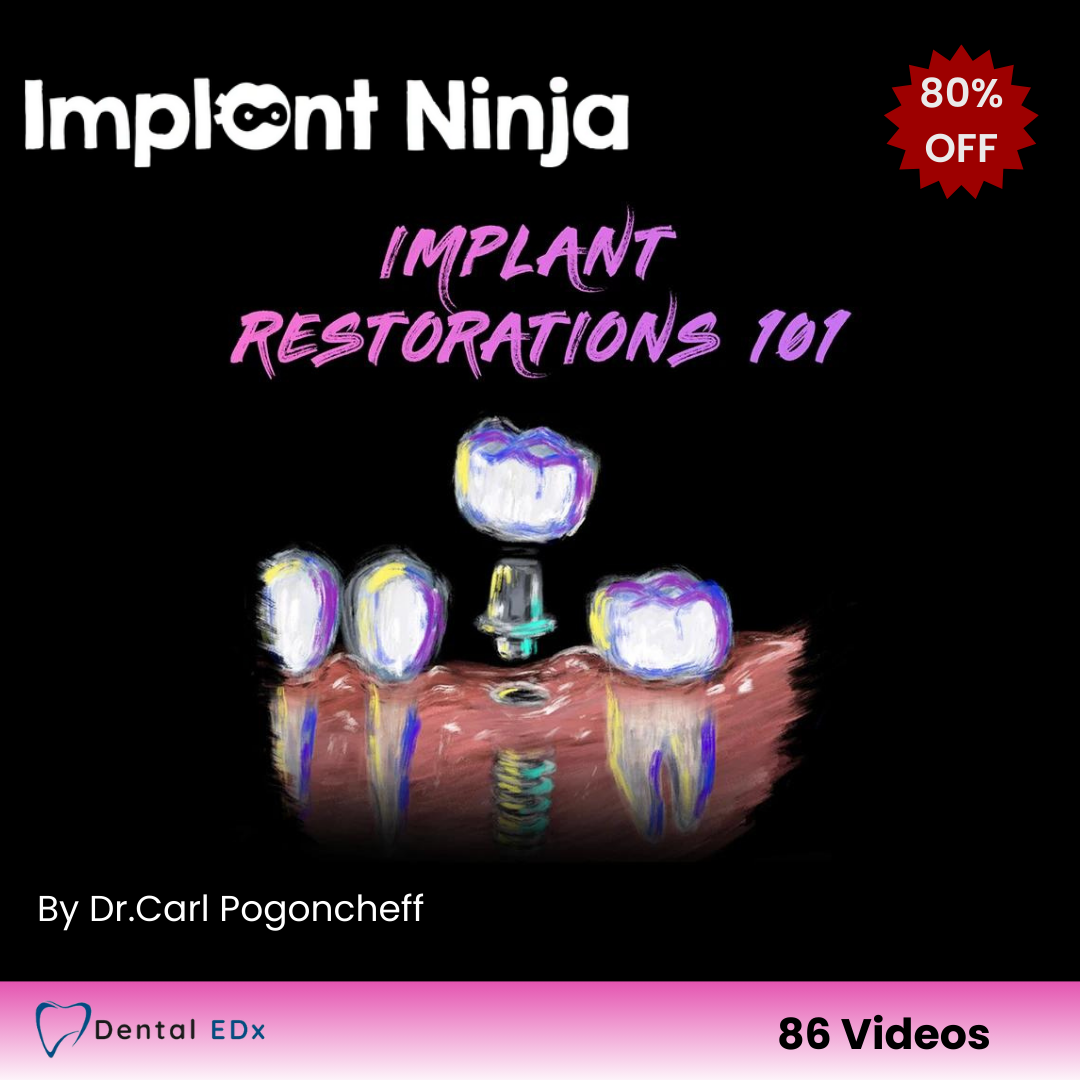
Simple and comprehensive course on restoring implants.
Been wanting to learn what is required to restore implants?
Here’s the problem
❌ The surgeries look super hard to do!
❌ The field is littered with jargon from key opinion leaders!
❌ It feels like you need to have a dual degree in prosthodontics and OMFS to do these cases!
❌ Nobody explains it in a straightforward way…
Here’s your secret weapon
✅ Step by Step Explanations of Each Procedure
✅ Easy to Refer Back to Walkthroughs
✅ Access to Content Forever
Inside Implant Restorations 101

➡️ Step-by-Step Restorative Videos
➡️ Learn the Essential Tools
➡️ How to Identify Different Implant Systems
Course Content:
Introduction
• Start Welcome to the Course! (0:45 )
Syllabus
• Start Don’t be a stranger!
• Start Important Things to Know
• Start Join the Ninjas Community!
• Start Coffee and Case Reviews with Dr. Steve Vorholt! (1:02 )
• Start Meet your Instructors (1:15 )
Tools of the Trade
• Start Intro to Tools of the Trade (0:30 )
• Start 1/4 Wrench Rundown
• Start 2/4 Wrench Rundown
• Start 3/4 Wrench Rundown
• Start 4/4 Wrench Rundown
• Start Things that Attach to the Implant – Overview
• Start Quick Recap (0:37 )
• Start Armamentarium Video (6:11 )
• Start Phoning a friend… (0:09 )
• Start Deep Dive into Wrenches (9:36 )
Screw Heads/ Driver Tips
• Start Introduction (0:16 )
• Start The problem (4:58 )
• Start Screw Heads vs Prosthetic Screws
• Start Implant Driver (4:59 )
• Start 0.050 Hex
• Start 0.048 Hex
• Start Nobel Torx
• Start Straumann Torx
• Start Zest Locator
• Start Neodent
• Start If you cant ID…
Checkpoint #1
• Start Through the First Stage!
Identifying Different Implants
• Start Intro to Identifying Different Implants (0:18 )
• Start Step 1: Try to Get Records
• Start Step 2: Take an X ray
• Start Step 3: Try to take off the healing abutment
• Start Step 4: Take picture of the platform
• Start Step 5: Re-appoint and order parts
• Start Step 6: Place impression copings and take x rays
• Start How to Identify Implant Platforms and Systems (8:24 )
Types of Restorations
• Start Intro to Types of Restorations (0:22 )
• Start Screw Retained – whiteboard (8:29 )
• Start Screw Retained – model (0:19 )
• Start Cement Retained – whiteboard (5:11 )
• Start Cement Retained – model (0:51 )
• Start Cement Retained Hybrid Abutment – model (1:02 )
• Start Screw-mentable – whiteboard (3:44 )
• Start Stock Abutment vs Custom Abutment – whiteboard (3:44 )
• Start UCLA abutment – whiteboard (4:41 )
Tooth Materials
• Start Introduction to Restorative Materials (0:17 )
• Start Zirconium (4:17 )
• Start Lithium Discillicate (4:24 )
• Start PFM (5:15 )
• Start Choice of Cement for Routine Cases (4:03 )
• Start Choice of Cement for Anterior Cases (2:24 )
Checkpoint #2
• Start Treatment Planning Badge
Restorability Check
• Start Intro to Restorability Check (0:14 )
• Start How to tell if your implant is ready to restore? (3:38 )
• Start Should I use ISQ? (2:21 )
• Start Thoughts on Reverse Torque (1:51 )
• Start Acceptable level of bone loss at this point (2:58 )
• Start Taking off healing abutment (2:31 )
• Start Stage 1 vs Stage 2 – When to use a cover screw vs healing abutment (2:18 )
Open Tray Impressions
• Start Intro to Open Tray (0:11 )
• Start When to use? (1:58 )
• Start What does the open tray impression coping look like? (1:33 )
• Start How to place the open tray coping and know if it’s fully seated (2:27 )
• Start How to cut the tray (2:05 )
• Start How to take the impression (2:18 )
• Start Pulling the Tray OFF
• Start Evaluating the impression, is it good or bad? (1:13 )
Closed Tray Impressions
• Start Intro to Closed Tray (0:16 )
• Start When to use? (1:24 )
• Start What does the closed tray impression coping look like (2:01 )
• Start How to place the closed tray coping and know if it’s fully seated (2:35 )
• Start How to take the impression (1:36 )
• Start Pulling the Tray OFF
• Start Evaluating the impression, is it good or bad? (1:19 )
Intraoral Scanning
• Start When to use (2:03 )
• Start Comparisons of scan bodies (1:27 )
Bite Registration
• Start Taking the bite – model (0:59 )
• Start What I use for bite registration and why (0:26 )
• Start Evaluating and modifying the bite registration – model (3:33 )
• Start What the Soft Tissue Mastercast Looks Like (0:37 )
Lab Stu
• Start The Lab Slip Example (5:44 )
• Start The model you get back (0:45 )
Moving on to Delivery!
• Start Movin on! (0:27 )
Cement Retained Crown
• Start What is an abutment seating jig (1:01 )
• Start Assessing the crown (3:03 )
• Start Seating the abutment – Model (1:30 )
• Start Seating the crown (0:44 )
• Start Occlusal Check (2:14 )
• Start Torque and Close up access hole (2:19 )
• Start Cement jig (1:02 )
• Start Cleaning the cement (2:39 )
• Start Seating the abutment and Delivery – Patient (6:18 )
FAQ
Screw Retained Crown
• Start Assessing the crown (4:23 )
• Start Seating the crown (2:56 )
• Start Interproximal Adjustment (2:09 )
• Start Occlusal Adjustment (3:31 )
• Start Torque (1:50 )
• Start Closing up the access hole (2:51 )
Checkpoint #3
• Start Delivered!!!
Occlusion Theory and Practice
• Start Intro to Occlusion Section (0:34 )
• Start Occlusal Considerations and Philosophies (9:34 )
• Start Occlusal Concepts (10:30 )
• Start Occlusal Schemes for Posterior and Anterior Teeth (14:11 )
Follow Up Care
• Start How often to see patients after delivery (0:41 )
• Start Do they need a nightguard (0:29 )
• Start How to tell if something is wrong (1:24 )
Complications
• Start Intro to Complications (0:15 )
• Start Loose crown, how to handle it (3:02 )
• Start Stripped Screw (1:09 )
• Start Not Enough Restorative Room (1:57 )
• Start Debris stuck in the Screw Channel (2:59 )
• Start Bone Impingement: Impression Coping not seated all the way (5:33 )
Farewell
• Start Post Course Discussion with host and instructor (3:24 )
• Start Congratulations (0:28 )
FAQ :
1.How do I access my course after purchase ?
As soon as your payment is completed, you'll receive immediate access to your course. Simply log in to your account, head to the Membership Area, and start learning right away. You’ll also receive a receipt and enrollment confirmation via email, ensuring you have everything you need to get started. Your course materials will be available instantly, allowing you to learn at your own pace from any device.
2. Can I download the course materials?
Absolutely! We provide download links for many of our course materials, allowing you to watch and review them offline at your convenience. This includes videos, resources, and supporting documents, so you can continue your learning even without an internet connection.
3. Is there a time limit to complete the courses?
No, all of our courses are self-paced, giving you the flexibility to start, pause, and resume at any time. You will have lifetime access to the course materials, so there’s no pressure to complete them within a certain timeframe.
4. What payment methods are accepted?
We accept all major credit cards, including Visa, MasterCard, and American Express. You can also use PayPal for secure and flexible payments.
5. Do you provide certificates upon course completion?
Yes, we do! After successfully completing your course, you will receive a certificate of completion. This certificate can be downloaded immediately and serves as recognition of your learning achievements.
8.Why are your prices cheaper ?
At DentalEdx, we believe in making high-quality dental education accessible to all professionals. Our pricing reflects our commitment to providing exceptional value without compromising on course quality. By leveraging technology and streamlining our operations, we can offer competitive pricing while still featuring industry-leading instructors and comprehensive course materials. Our goal is to empower dental professionals to enhance their skills and knowledge affordably.
6. Can I access my courses from a mobile or tablet?
Yes! Our platform is fully optimized for mobile and tablet use, allowing you to access your courses on-the-go. Whether you're using a smartphone, tablet, or desktop, you can seamlessly continue your learning from any device at any time.
7. Am I going to receive an invoice for my purchase?
9.What if I'm not satisfied with the course?
If you’re not satisfied with your course, we offer a course replacement or a full refund. Simply contact our support team within 15 days of purchase, and they will assist you in finding a suitable alternative or processing your refund. Your satisfaction is our priority!
10.How do I contact support?
You can reach our support team via email at [email protected]. We’re here to assist you with any questions or concerns you may have!
11.Are there subtitles for the courses, and in what languages?
Yes! All our courses come with subtitles available in multiple languages. This ensures that you can follow along comfortably, regardless of your preferred language.
How do I reset my password?
If you need to reset your password, simply click on the "Forgot Password?" link on the login page. Follow the instructions to receive an email with a link to create a new password. If you encounter any issues or still can't reset your password, please contact our support team at [email protected] for assistance.
Doctors also searched for :
Removable complete dentures and overdentures: analog and digital manufacturing methods
- 0 Lessons
- 0 Students
Contact point effective posterior teeth direct restoration technique
- 0 Lessons
- 0 Students
Lorem ipsum dolor sit amet, consectetur adipiscing elit. Ut elit tellus, luctus nec ullamcorper mattis, pulvinar dapibus leo.
Implant Restorations 101
$199 $1000
- Quality Full HD video
- Number of videos: 86
- Language: English
- Subtitles: Available in All languages
- Subscription Terms: Lifetime Access
Doctors also searched for :
Removable complete dentures and overdentures: analog and digital manufacturing methods
- 0 Lessons
- 0 Students
Contact point effective posterior teeth direct restoration technique
- 0 Lessons
- 0 Students


